

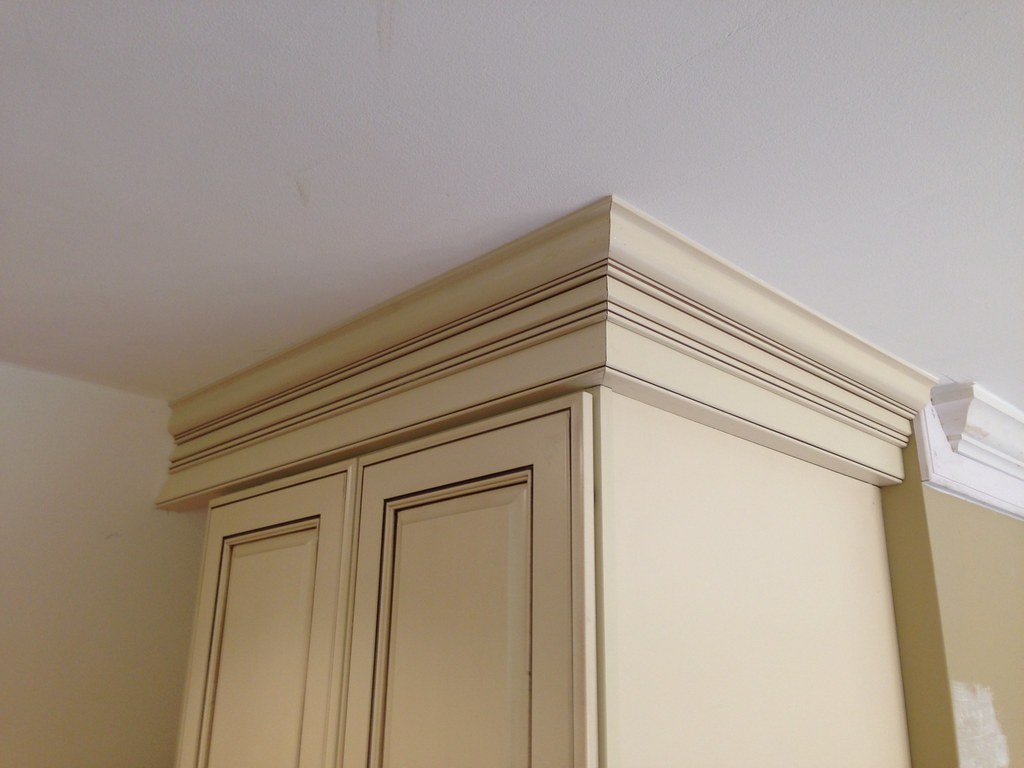
When it comes to kitchens, crown molding is a subtle yet impactful feature that can elevate the entire aesthetic of the space. This decorative trim adds a touch of elegance and sophistication and serves practical purposes like hiding imperfections at the junction of walls and ceilings. Mastering the art of kitchen crown molding installation requires attention to detail, precision, and a keen eye for design. Here’s a comprehensive guide to help you achieve a flawless finish in your culinary haven.
Understanding Crown Molding
Crown molding is decorative trim installed where walls meet the ceiling. It comes in various styles and materials, from simple designs to intricately carved patterns, allowing homeowners to choose one that complements their kitchen decor. Common materials include wood, MDF (Medium-Density Fiberboard), polyurethane, and even flexible options for curved surfaces.
Tools and Materials You’ll Need
Before embarking on the installation journey, gather the necessary tools and materials:
- Measuring Tape and Pencil: Essential for marking where the molding will be placed.
- Miter Saw: Used to cut the molding at precise angles.
- Nail Gun or Hammer: This is used to secure the molding to the wall and ceiling.
- Wood Putty and Sandpaper: To fill nail holes and smooth out imperfections.
- Paint or Stain: Finish the molding according to your kitchen’s color scheme.
- Safety Gear: Gloves and safety glasses are recommended when using power tools.
Preparing for the Installation
Start by clearing the kitchen area where you’ll be working. Remove any obstacles, such as furniture, appliances, or wall decor, to create a clean, unobstructed space. Cover the countertops and floor with drop cloths or plastic sheets to protect them from dust and debris.
Elevated Aesthetics
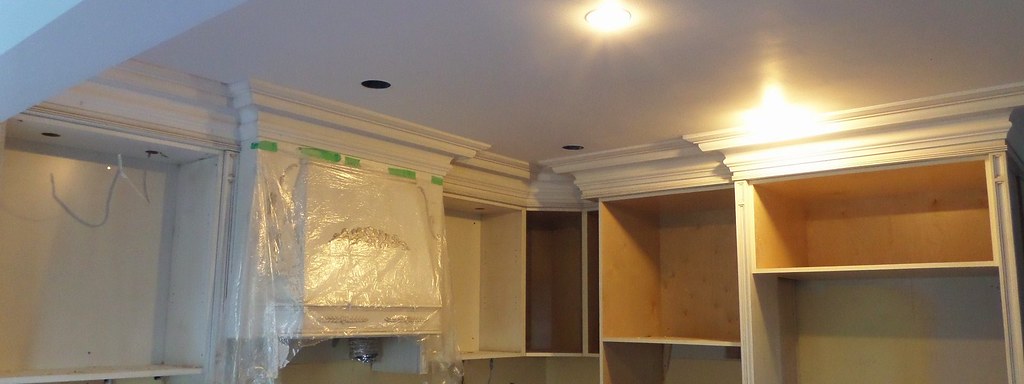
The primary reason many homeowners opt for kitchen crown molding is its ability to add a touch of elegance and sophistication to the room. By installing crown molding along the top edges of your kitchen cabinets, you create a seamless transition from the wall to the ceiling, giving the space a more cohesive and polished appearance. Whether your kitchen boasts a traditional, contemporary, or rustic style, crown molding can be tailored to complement and enhance the existing decor, making it a versatile choice for any design scheme.
Hide Imperfections
In addition to its aesthetic benefits, crown molding serves a practical purpose by concealing imperfections at the junction where walls meet ceilings. This can be particularly useful in older homes where settling may have caused gaps or uneven surfaces. By installing crown molding, you can effectively mask these flaws and create a smoother, more finished look throughout the kitchen.
Why Crown Molding Gives Your Kitchen That Polished, Built-In Look
Adding crown molding to kitchen cabinets instantly transforms a standard setup into a refined, custom-looking space. By installing decorative molding along the top edge of cabinetry — where cabinets meet the ceiling — you create a seamless transition that hides unsightly gaps and gives the kitchen a cohesive, high-end appearance. This subtle architectural detail also helps draw the eye upward, making even smaller kitchens feel taller and more spacious. With a variety of design profiles and finishes available, crown molding can be tailored to suit traditional, modern, or transitional kitchens, giving you flexibility whether you want sleek minimalism or classic elegance.
Increased Property Value
Investing in kitchen upgrades such as crown molding can significantly increase the resale value of your home. Potential buyers are often drawn to kitchens with a sense of luxury and attention to detail, and crown molding can contribute to this perception. Even if you’re not planning to sell shortly, enhancing your kitchen with crown molding is a long-term investment that can pay off when the time comes to put your home on the market.
Measuring and Planning
For the installation of crown molding to be successful, precise measurements are essential. Measure each wall where the crown molding is to be installed starting at the longest length. Consider any corners, angles, or obstructions requiring unique cuts or adjustments. Use a pencil to mark the measurements directly on the walls.
Next, calculate the crown molding you’ll need based on your measurements. Purchasing slightly more than the estimated amount is advisable to account for any mistakes or waste.
Cutting and Preparing the Molding
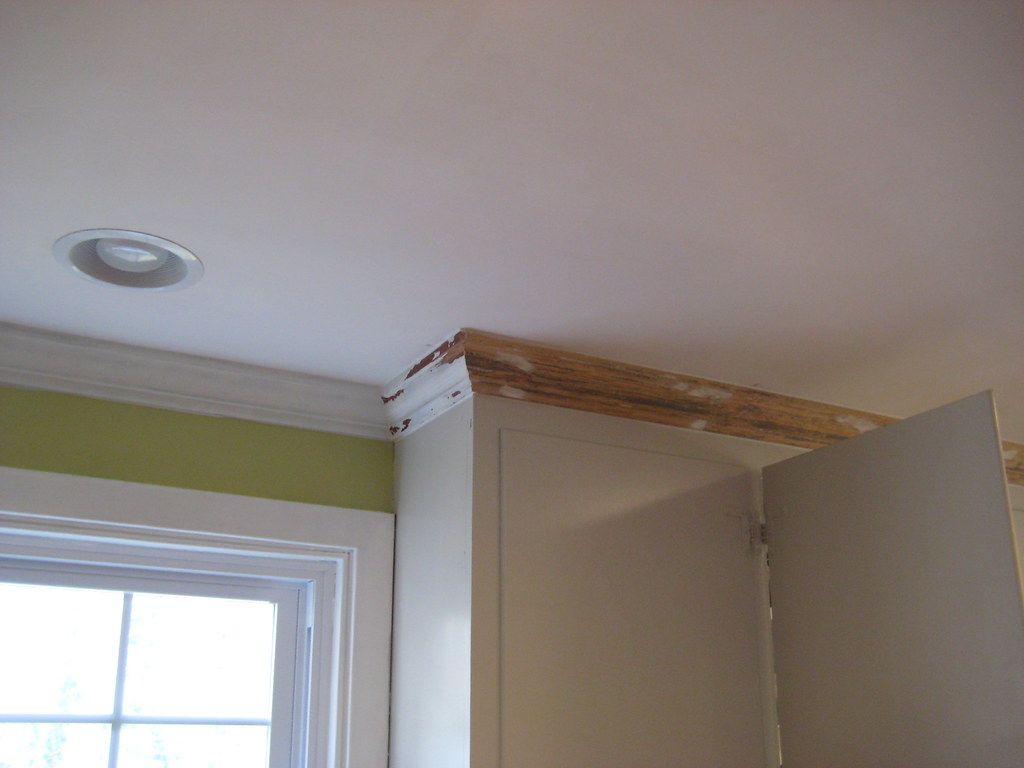
Cut the crown molding pieces using a miter saw according to your measurements and design plan. Remember that crown molding is typically installed at an angle, so make miter cuts to ensure a proper fit at the corners. Use the appropriate angles (usually 45 degrees) based on the corners’ orientation.
Once the molding pieces are cut, sand any rough edges or imperfections for a smooth finish. Before installation, apply paint or stain to match your kitchen’s color scheme.
Kitchen Crown Molding Installation
Start by installing the most extended crown molding along the wall with the most visible area. Use a nail gun or hammer and finishing nails to secure the molding to the wall. Aim to nail through the thickest part of the molding to ensure stability. Repeat this process for each piece of molding, working your way around the kitchen.
When you reach the corners, use miter cuts to create a seamless joint. Ensure that the angles are accurate and the pieces fit snugly together. Nail the corner joints securely to hold the molding in place.
Filling and Finishing
Inspect the installed crown molding for gaps or nail holes. Using a putty knife, fill these imperfections with wood filler. Smooth the filler and let it dry according to the manufacturer’s instructions. Once dry, sand the filled areas until they are flush with the rest of the molding.
Final Touches and Maintenance
After the wood filler is sanded, give the crown molding a final inspection. Clean the molding and surrounding surfaces to remove any dust or debris. To maintain the beauty of your crown molding, regularly dust it with a soft cloth or use a vacuum cleaner with a brush attachment.
Conclusion
Installing crown molding in your kitchen is a rewarding project that can elevate the overall appearance of the space. By following the step-by-step guide outlined in this article, you can confidently tackle this task and achieve professional-looking results. Remember to take accurate measurements, plan your cuts carefully, and pay attention to detail during installation. With a little time and effort, you can enjoy the timeless elegance and style that kitchen crown molding brings to your home.
Apart from that if you want to know about “Innovative Refrigerator Cabinet Surround Ideas to Elevate Your Kitchen Design” then please visit our “Kitchen” Category.
FAQs
Kitchen crown molding is a decorative trim installed where the walls meet the ceiling in the kitchen. It adds a touch of elegance, enhances the overall aesthetics, and creates a smooth transition between the two surfaces.
Installing crown molding in your kitchen has several benefits. It enhances the visual appeal, adds value to your home, conceals imperfections, and allows you to personalize the style of your kitchen.
If you have moderate woodworking skills, crown molding installation can be a DIY project. However, it requires precision and attention to detail. Measuring accurately, making precise cuts, and securing the molding properly is essential.
Most cabinets can support crown molding, but ceiling height, cabinet style, and existing trim may affect design and installation options.
Kitchen crown molding is a decorative trim installed where cabinets meet the ceiling to create a polished, finished appearance.